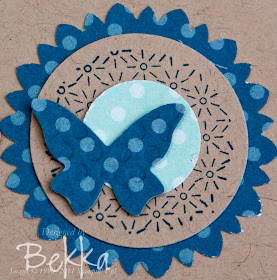
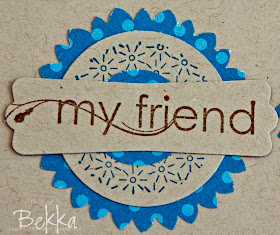
Hello and welcome to this week's Find Out About Friday. Since I showed you the Progressive Scrapbook Page in this post with these Pinked Circles I have received a lot of questions asking how I made them.
So for this week's Find Out About Friday I thought I would share with you how to make a pinked circle with a Scallop Circle Punch, and the good news is that it is very easy!
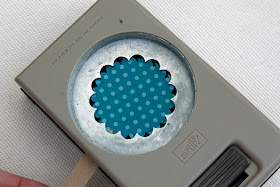
Firstly punch your scallop circle. Then using a re-positional adhesive, something like the Two Way Glue Pen or your Tombow (let the glue dry before sticking) put this scallop circle on a long thin scrap of card. Holding the scallop circle by this scrap of card, put it back in the punch and line it up so that the inwards facing points on the punch are in the middle of the bumps on the Scallop Circle, like this
The just punch again and when you remove it from the punch you will have a pretty pinked circle!
I hope this answers your questions and that you enjoy making your own pinked circles. If you would like to make sure that you receive regular tips like today's mini tutorial which will help you get the most from your Stampin' Up! Products, please make sure you are signed up for my newsletter - just pop over to the box on the right hand side of this blog.
Happy Stampin'


No comments:
Post a Comment